IoD_Sim
IoD_Sim is an open source and system-level simulator for the IoD (Internet of Drones). It is developed on top of the well-known ns-3 (Network Simulator 3), it implements the key networking elements (drones, network access points, and Zone Service Provider), a standard-compliant communication stack based on the IEEE 802.11 technology, and scenarios with various mobility models[1][2].
As mentioned in [2], IoD_Sim is primarily compatible with Linux-based operating systems. One can test it on macOS, altough the original authors are not focused on providing first-class support for it. For macOS, Windows, or any other operating system, they encouraged to use Docker, WSL or any other (pseudo)virtualisation platform that can provide a stable Linux-based work environment.
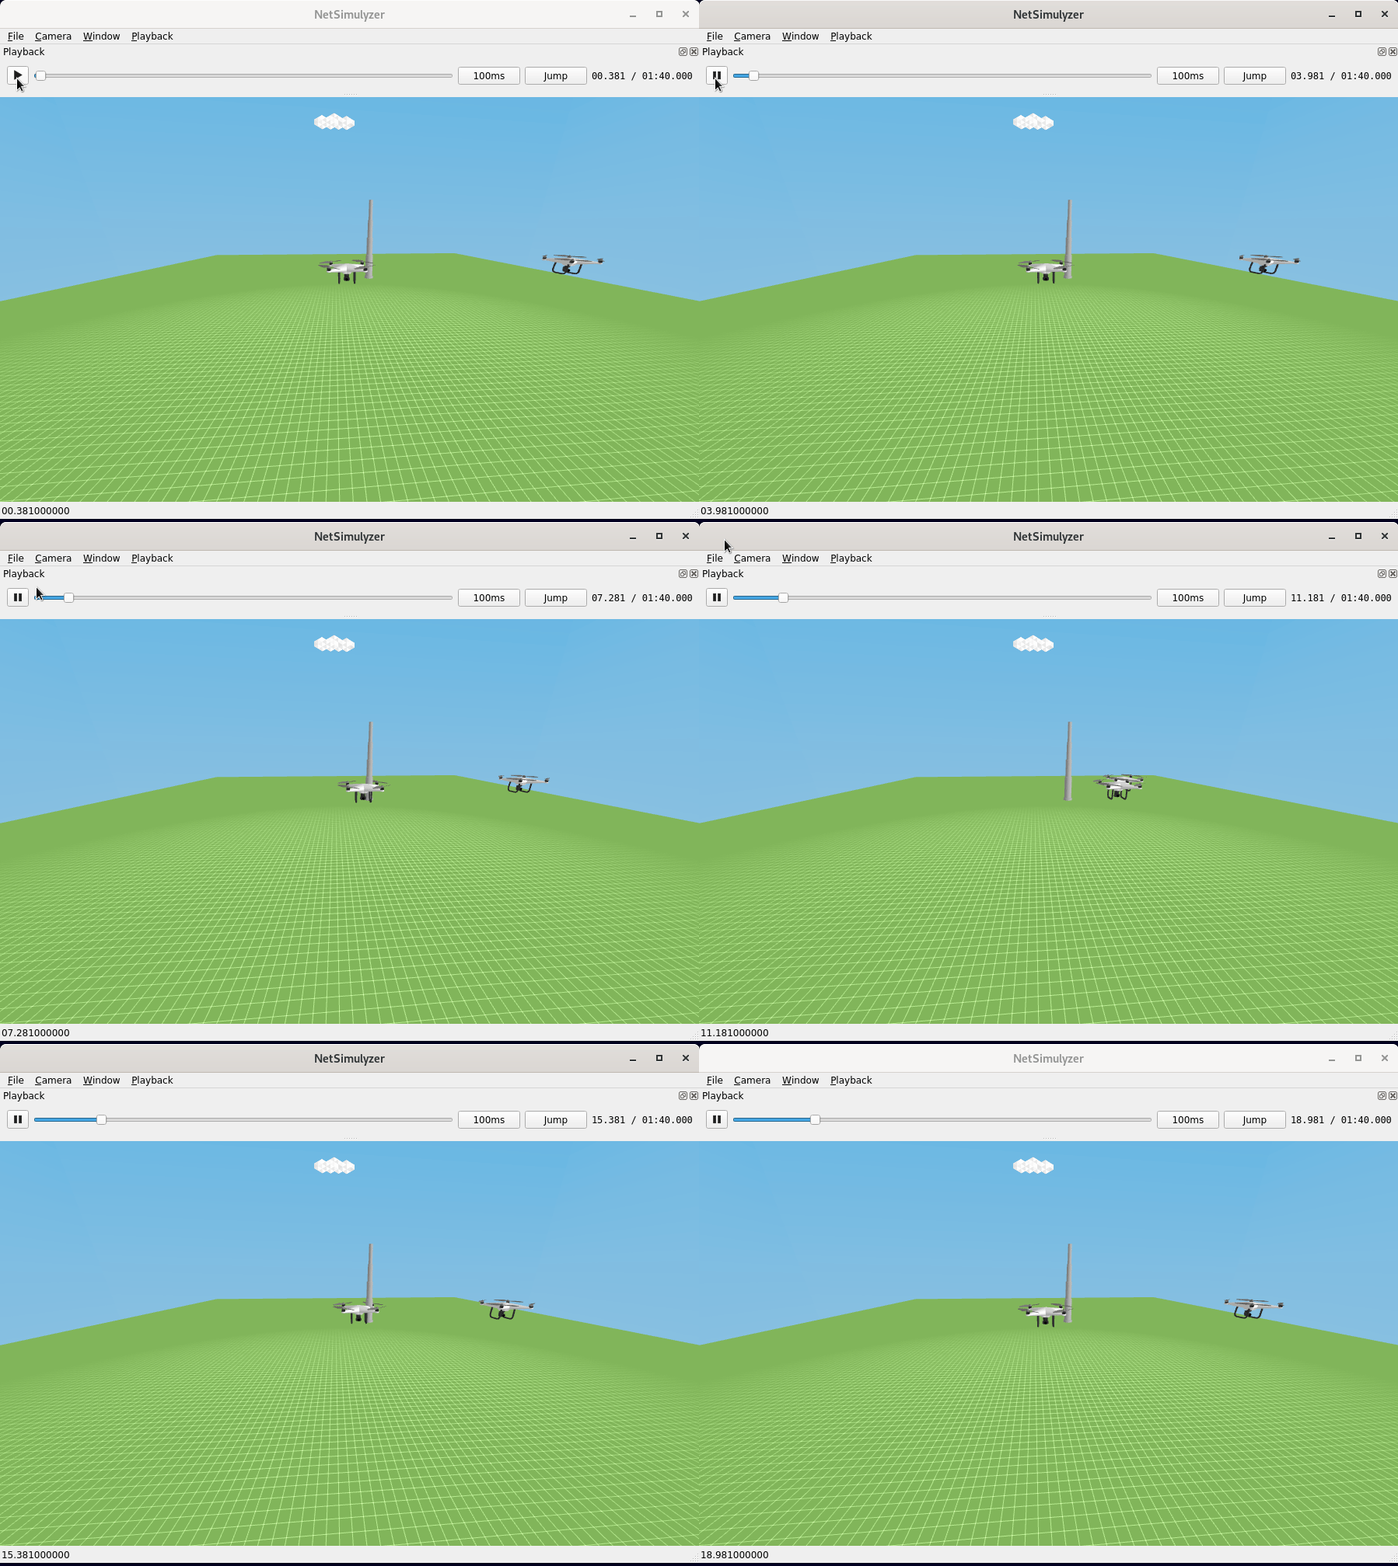
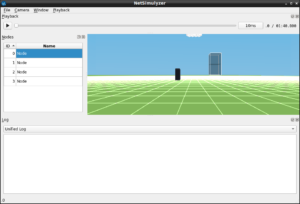
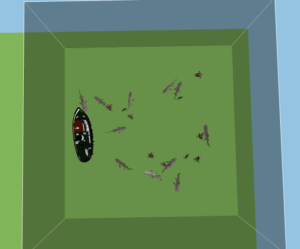
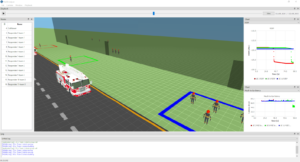
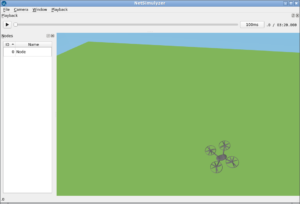
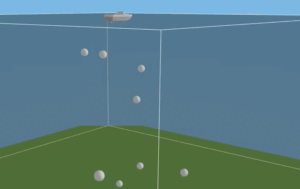
In this article, we will see the way of installing 3D visualisation support on ns-3 for the purpose of visualising IoD_Sim FANET simulations in 3D using the NetSimulyzer add-on module.
Installation Steps
Step 1: Install ns-3 and IoD_Sim
The Following article Explained the way of Installing ns-3 and IoD_Sim:
Step 2: Cloning the NetSimulyzer add-on module from the GitHub repository
Now we can clone the NetSimulyzer add-on module from its repository[4] under the ‘contrib’ folder or ‘src’ folder of ns-3.
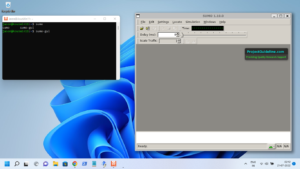
The flowing screenshot shows the completion of the cloning of NetSimulyzer add-on module repository.

Step 3: Configure ns-3
We should configure ns-3 as follows:

Step 4: Building ns-3 with IoD_Sim and NetSimulyzer
After successful configuration, now we can build the ns-3 – so that the newly compiled ns-3 will have IoD_Sim functionalities in it.


Step 5: Testing the Working of IoD_Sim with NetSimylyzer 3D Network Visualisation features
Now we can modify and run the iodsim simulator with the example scenario that is described in a JSON format configuration file.
$ ./ns3 run “iodsim –config=../scenario/simple_wifi.json”

Step 6: Visualising with NetAnim
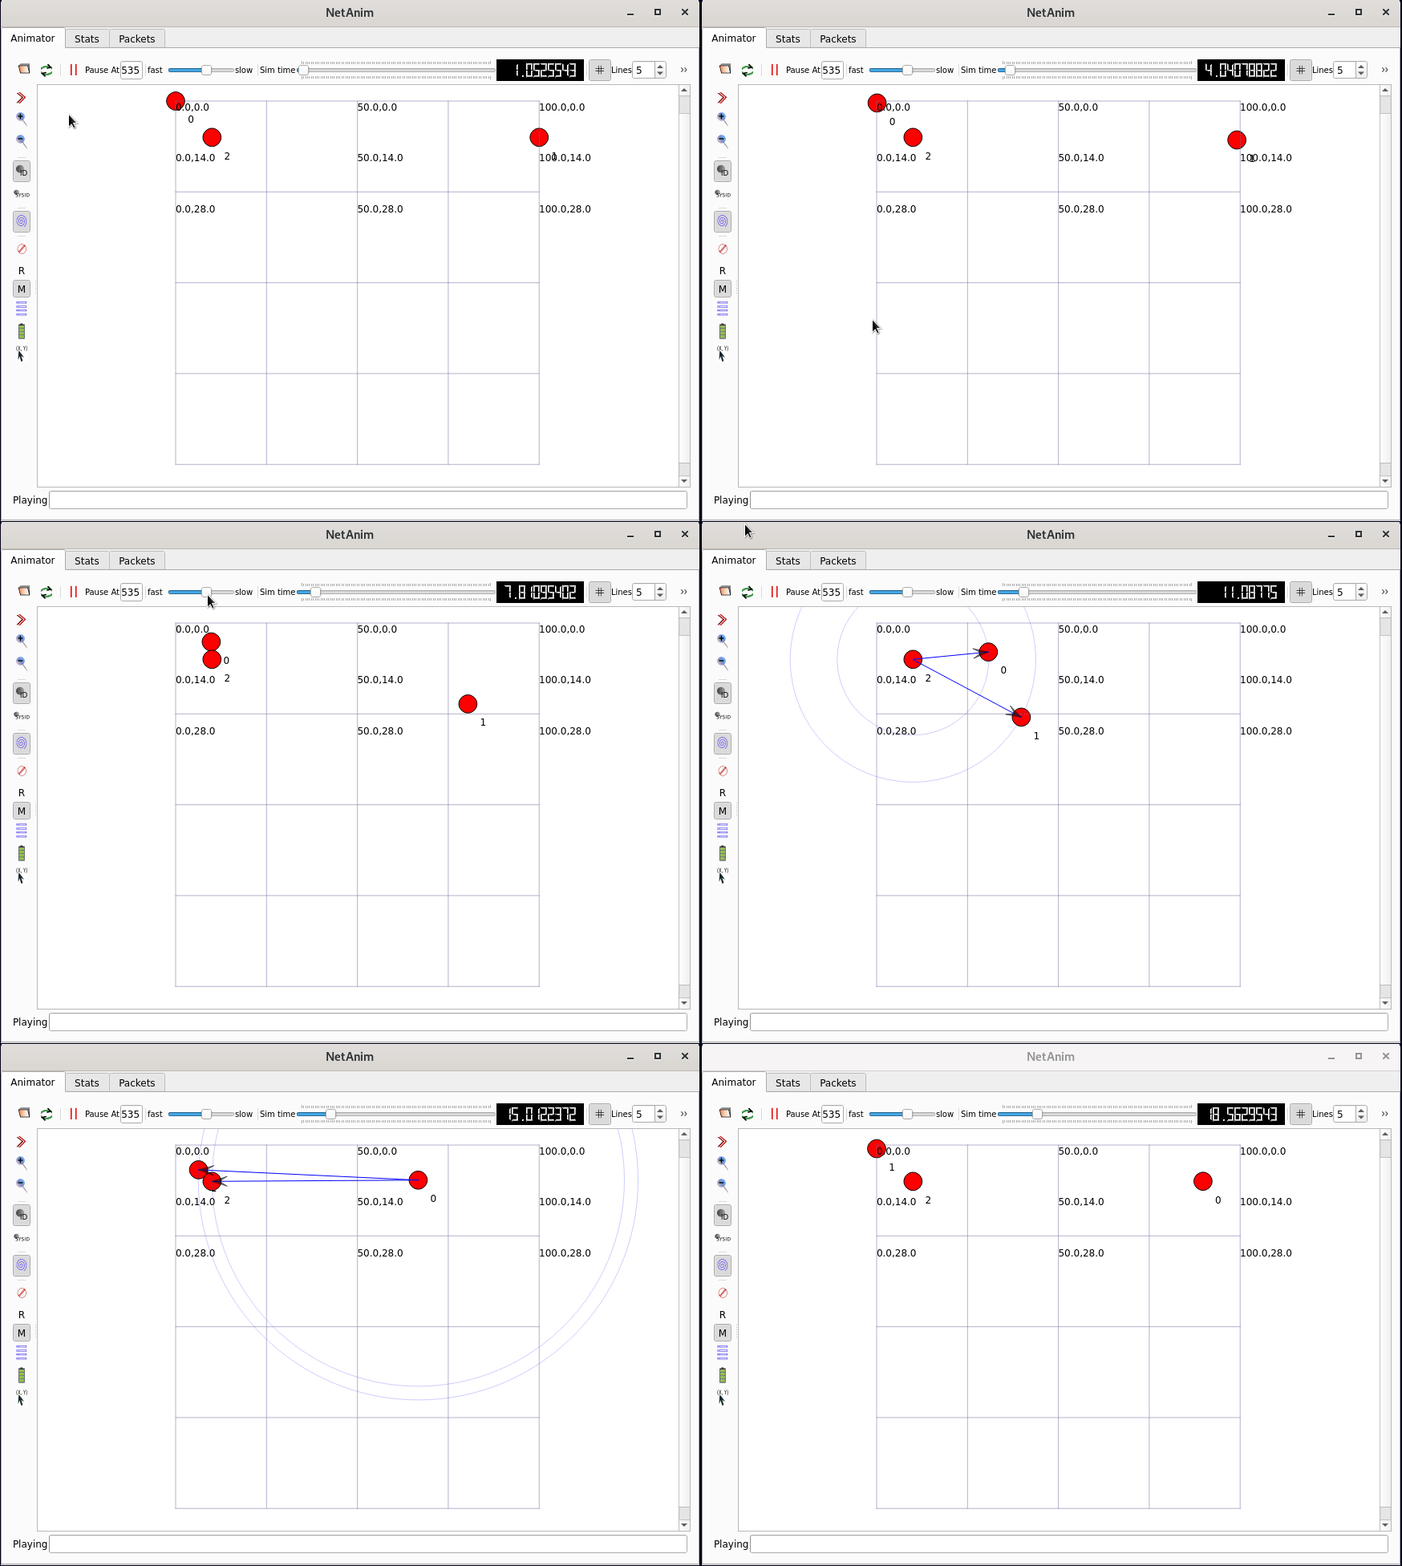
After the necessary additions, you will see the 2D animatoin of the simulated scenario under the name ‘IoD_Sim_Network_Animation.xml’.

The following gif video shows the 2D animation of the above IoD_Sim scenario.
Step 6: Visualising with NetSimulyzer
In addition to the NetSimulyzer add-on extension, we should install the NetSimulyzer 3D visualisation tool as explained in the following article:
Installing NetSimulyzer 3D Visualization Tool under Debian 11

Conclusion
References
- Giovanni Grieco, Giovanni Iacovelli, Pietro Boccadoro and Luigi Alfredo Grieco “Internet of Drones Simulator: Design, Implementation, and Performance Evaluation”,arXiv:2203.13710v1 [cs.NI] 25 Mar 2022
- https://github.com/telematics-lab/IoD_Sim
- https://github.com/GiovanniGrieco/IoD_Sim-airflow
- https://github.com/usnistgov/NetSimulyzer-ns3-module
- https://github.com/usnistgov/NetSimulyzer
- https://www.projectguideline.com/installing-netsimulyzer-3d-visualization-tool-under-debian-ubuntu-2/

 Discuss Through WhatsApp