If we want to implement AI algorithms in our custom network protocol/application under ns-3, then the direct way is to incorporate an existing AI/ML/DL framework with it. If it will be an AI/ML C++ based framework, then it can be incorporated with the C++ code of ns-3. However, the existing AI/ML frameworks are huge and are rapidly improving over time. Further, there are popular frameworks that are based on Python and make it hard to merge with ns-3 natively.
So instead of directly incorporating such huge AI/ML frameworks with ns-3, ‘ns3-ai Model’ provides a way to communicate with independently running AI/ML frameworks from a ns-3 simulation.
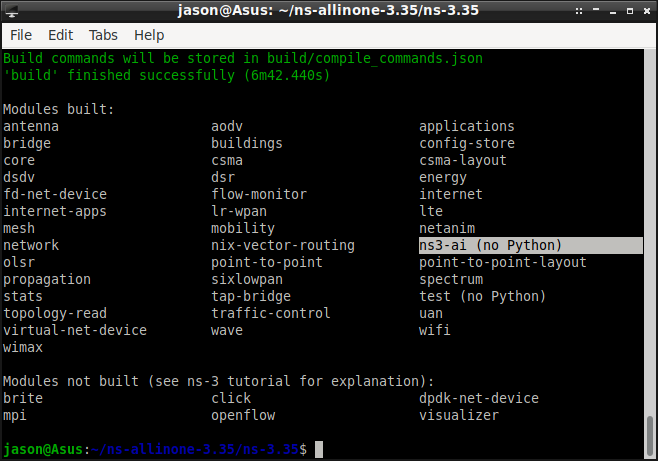
In our another article, we presented a ‘chroot jail’ based installation ofns3-ai Model. In this article, we will see the installation procedure for installing ‘ns3-ai Model’ under ns-3.35 (native installation under Debian 11)
Features of ns3-ai
ns3-ai does not include any AI algorithms in it. Further, it will not rely on one particular framework. This framework provides the ways to communicate and use the AI framework, which is installed separately in the system.
The following are the features outlined by its developers[1]
- High-performance data interaction module (using shared memory).
- Provide a high-level interface for different AI algorithms.
- Easy to integrate with other AI frameworks.
Install ns-3
No specific version was mentioned by the developers of ns3-ai. In this article, I will show the procedure for installing ‘ns3-ai Model’ under ns-3.35 (native installation under Debian 11)
Hopefully, this installation procedure will work on lower versions of ns3 also.
You may follow the ns-3.35 installation procedure given here.
Or you may also follow any procedure from [1] to install ns-3.35 before proceeding the installation of ns3-ai module.
Installation of ns3-ai Module
Change to “contrib” folder of your ns-3 installation.
Clone the ns3-ai repository under the “contrib” folder of your ns-3 installation.
$ ./waf configure
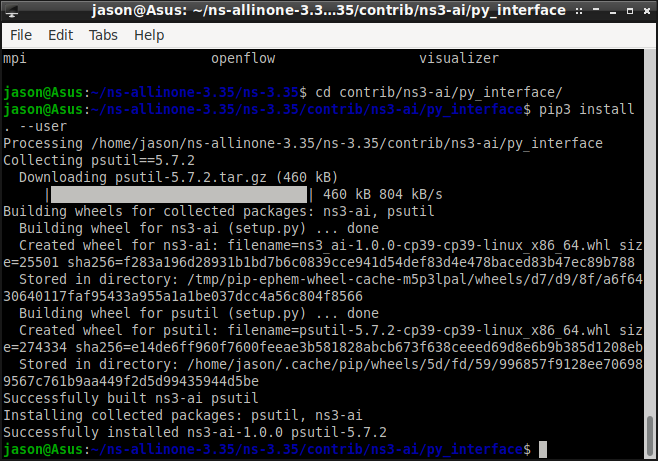
Configure Python interface for ns3-ai
$sudo apt install python3-pip
cd /home/your_home/ns-allinone-3.35/ns3.35/contrib/ns3-ai/py_interface
pip3 install . –user
Testing the Installation with simple a_plus_b code
a_plus_b is a very simple but useful example for the ns3-ai model to illustrate the data exchange between Python-based AI frameworks and ns-3.
We may use this example to test the ns3-ai installation.
In this example, the Python code run.py will create a common memory pool and start an ns-3 simulation called a_plus_b which shares some variables from the common memory pool. In this case, the value of ‘a’ and ‘b’ are randomly chosen from the Python part of the code and put into the common memory pool. The ns-3 simulation will have access to this ‘a’ and ‘b’ values and calculate the value ‘c=a+b’ and put and display the result from the ns-3 simulation itself. In the following output, we are having 10 outputs. The reason is, the Python code will initiate the ns-3 code 10 times within a loop.
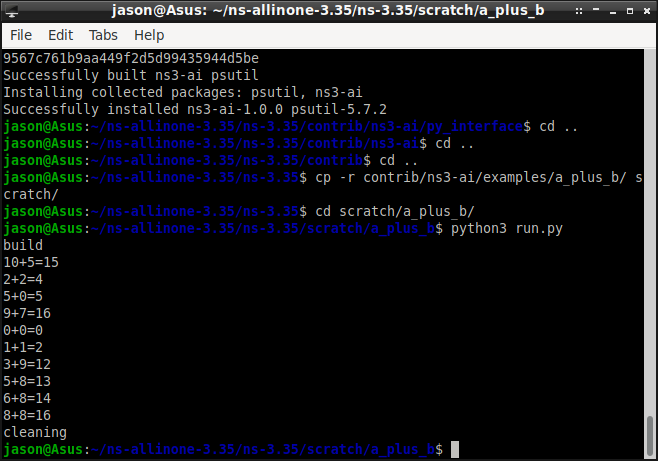
This example simulation is not using any AI/ML features. So, this will run without having any AI/ML framework installed on the system.
But, if we will try to run an example that uses AI/ML features, then before that, we have to install the necessary AI/ML framework and other Python dependency modules. We have installed the necessary dependencies for AI/ML features. But even after that, under the native installation of ns3-ai under ns-3.35 itself, the example programs that are using AI/ML features are not getting started as expected. The reason for these buggy behaviours should be found and addressed.

 Discuss Through WhatsApp