ns-3 support different kinds of mobility models. In addition to that, it has support for importing mobility traces of other simulators and other mobility generators. In this article, we will see the way to use ns-2 mobility traces under an ns-3 simulation.
ns-2 Mobility Trace Format
An ns-2 mobility trace file is nothing but a TCL script that contains ns-2’s TCL objects and commands/functions.
ns-2 mobility traces will be in the following form :
$NodeID set X_$NodeID set Y_ $NodeID set Z_ $ns_ at
The following code will initialize the location of the node – node_(0) and move its location over time using setdest command.
$node_(0) set X_ 150.0
$node_(0) set Y_ 93.98597018956875
$ns_ at 0.0 "$node_(0) setdest 150.0 110.0 50.40378694202284"
$ns_ at 0.3177148143422528 "$node_(0) setdest 159.68580405978113 110.0 50.40378694196106"
$ns_ at 0.5098790275378633 "$node_(0) setdest 164.68580405978113 110.0 50.129146111974336"
$ns_ at 0.6096214007438903 "$node_(0) setdest 170.0 110.0 50.39215470830349"
$ns_ at 0.7150782118483221 "$node_(0) setdest 170.0 90.31419594021887 50.392154708372175"

.......

.....
A text file with commands for such node location initialization and movements is called an ns-2 mobility trace file. An ns2 simulation script can directly make use of it during the simulation. For that, the main ns-2 simulation script will simply include that mobility scenario file (mobility trace file) in the appropriate location.
By using suitable helper functions of ns-3, we can make use of the ns-2 mobility trace files in an ns-3 simulation. The helper functions will take care of the format conversion. Internally, the helper functions read and phrase the ns-2 format traces and convert them into ns-3 format mobility trace.
In this simple example, we are going to see the way in which ns-2 format mobility traces can be used in an ns-3 simulation. In fact, this example script is just derived from the standard examples provided in the ns-3 package. We just removed some of the confusing lines from the standard example script to make the reader understand the core concept. Even we didn’t set up any traffic or Event logging. So this simulation script will only contain the important lines related to the mobility trace set-up and a line for visualizing it under NetAnim animator.
SimpleNS3SimulationWithns2-mobility-trace.cc
The Following code is the simplified version that simulation.
#include “ns3/mobility-module.h”
#include “ns3/ns2-mobility-helper.h”
#include “ns3/netanim-module.h”using namespace ns3;
int main (int argc, char *argv[])
{
// Create Ns2MobilityHelper for importing ns-2 format mobility trace
Ns2MobilityHelper ns2 = Ns2MobilityHelper (“ns_movements.txt”);
// Create Moble nodes.
NodeContainer MobileNodes;
MobileNodes.Create (2);
// configure movements for each node, while reading trace file
ns2.Install ();
AnimationInterface anim (“SimpleNS3SimulationWithns2-mobility-trace.xml”);
Simulator::Stop (Seconds (100));
Simulator::Run ();
return 0;
}
The mobility trace file “ns_movements.txt” is the same one that came with the standard example of ns3 – so you may use the file “default.ns_movements” which is available under the directory ns-allinone-3.25/ns-3.25/src/mobility/examples.
You may download this simulation script and the mobility trace file from the following link :
SimpleNS3SimulationWithns2-mobility-trace.cc
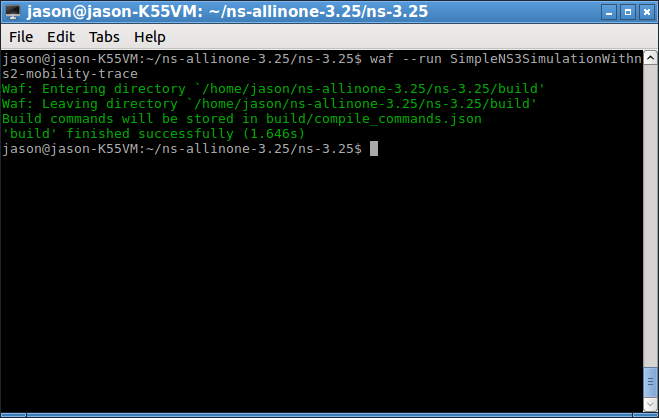
Now Compile the SimpleNS3SimulationWithns2-mobility-trace.cc
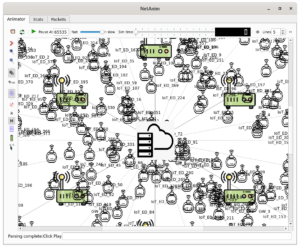
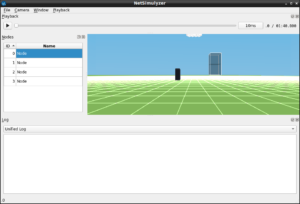
Now you can see the mobile nodes in the Network Animator. The following Video Shows the Animation for few Seconds.
The same NetAnim Window with some attractive nodes

 Discuss Through WhatsApp
 Take Me to Afarion ns-3 iPlayground


