Paparazzi Mobility Model
It is a mobility model to simulate the movement of autonomous vehicles, such as drones or UAVs (unmanned aerial vehicles), in a virtual environment. It allows users to test the navigation and control systems of their vehicles in a simulated environment before deploying them in the real world.
The Paparazzi Mobility Model that we used in this demonstration is an open-source ns-3 mobility extension which is available in[1].
Step 1: Install ns-3
You may follow any installation procedure to install the suitable ns-3 version on your computer.
The following article explains one such ns-3 installation on a chroot-based environment:
Installing ns-3-dev Under chroot Jail and Compile with CMake
Step 2: Download the Paparazzi mobility model extension named PPRZM-ns3 from[1]
Add paparazzi-mobility-model files in src/mobility/model
paparazzi-mobility-model.cc
paparazzi-mobility-model.h
Step 2: Do the necessary changes in wscript/CMake file.
Step 3: Download Paparazzi mobility model Example Simulation from[1]
Add paparazzi.cc in the scratch directory
Step 3: Recompile ns-3
We have to edit the wscript file under the folder ns-allinone-3.xx/ns-3.xx/src/mobility and add the two highlighted lines as follows:
$ cd /ns-allinone-3.xx/ns-3.xx/
$ ./waf
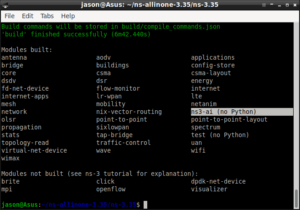
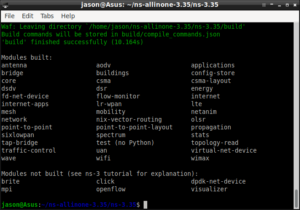
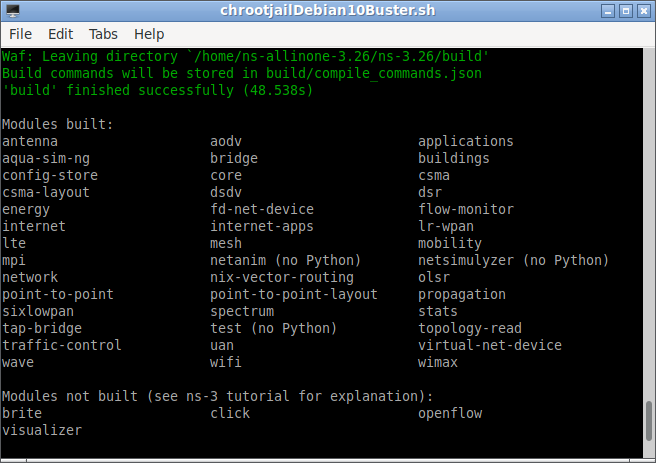
This will recompile ns-3 with the newly added paparazzi-mobility-model. A successful compile may end with a screen like below:
Step 4: Testing the paparazzi-mobility-model by running the given example
The following is the example code given in [1]
#include “ns3/core-module.h”
#include “ns3/netanim-module.h”
#include “ns3/paparazzi-mobility-model.h”
#include “ns3/stats-module.h”
#include “ns3/mobility-module.h”
#include “ns3/simulator.h”
#include
#include
using namespace ns3;
int main (int argc, char *argv[]) {
CommandLine cmd;
cmd.Parse(argc,argv);
NodeContainer c;
c.Create (1);
MobilityHelper mobility;
mobility.SetPositionAllocator (“ns3::RandomBoxPositionAllocator”,
“X”, StringValue (“ns3::UniformRandomVariable[Min=0|Max=200]”),
“Y”, StringValue (“ns3::UniformRandomVariable[Min=0|Max=200]”),
“Z”, StringValue (“ns3::UniformRandomVariable[Min=0|Max=0]”));
mobility.SetMobilityModel (“ns3::PaparazziMobilityModel”,
“Radius”, StringValue (“10”),
“Bounds”, BoxValue (Box (0, 200, 0, 200, 0, 0)));
mobility.InstallAll ();
AnimationInterface anim (“paparazzi.xml”);
Simulator::Stop (Seconds (60));
Simulator::Run ();
Simulator::Destroy ();
return 0;
}
$ cd /ns-allinone-3.xx/ns-3.xx/
$ ./waf –run paparazzi
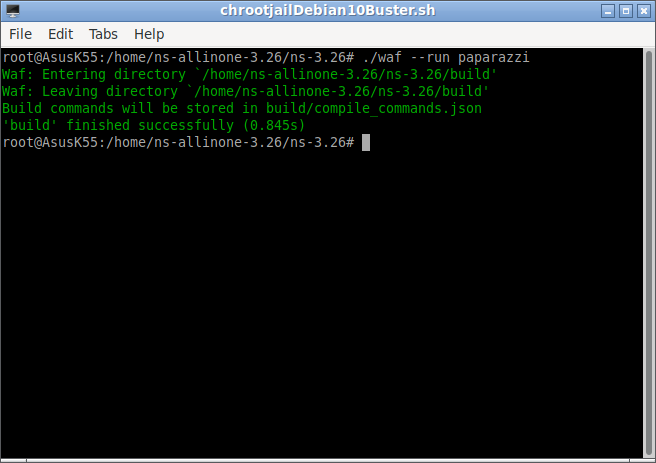
On a successful run, the output of the screed will look like the below one. The NetAnim Output trace file will be saved in the name “paparazzi.xml”
Step 5: Visualizing the mobility of paparazzi-mobility-model with NetAnim
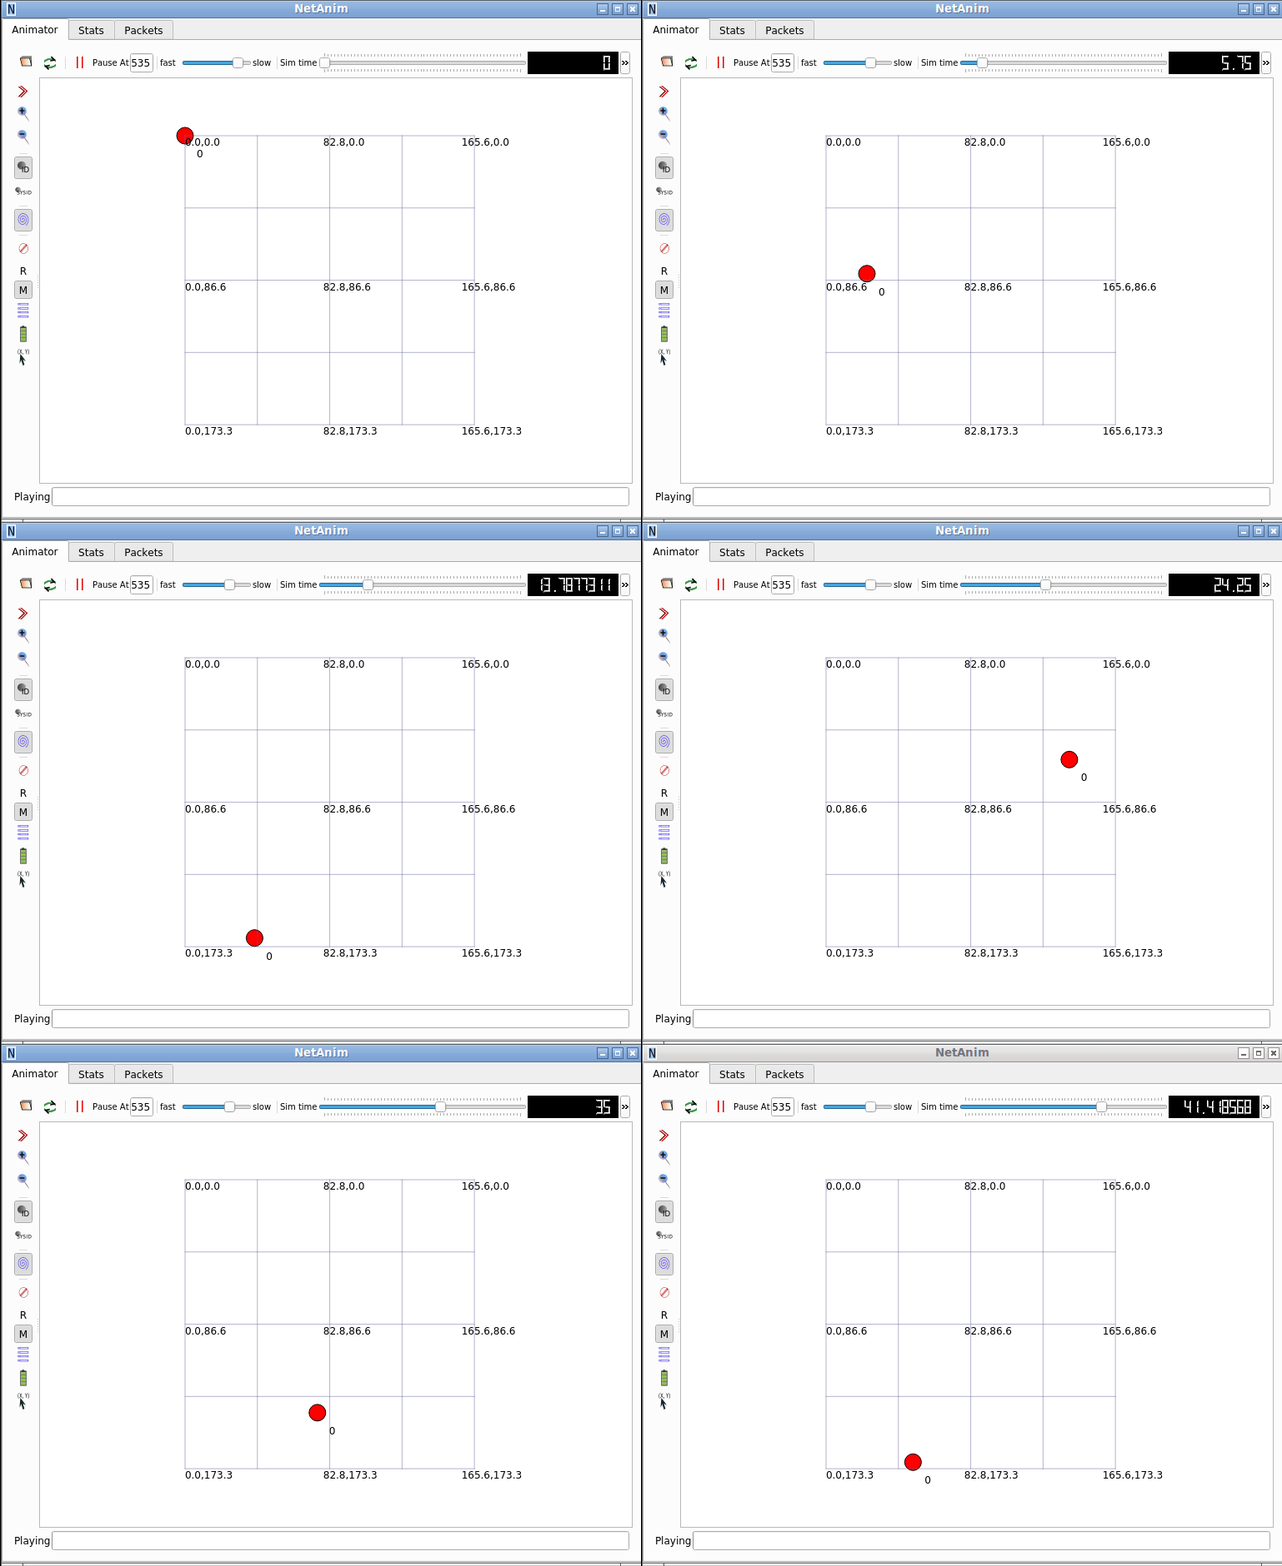
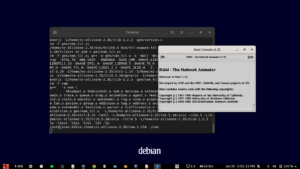
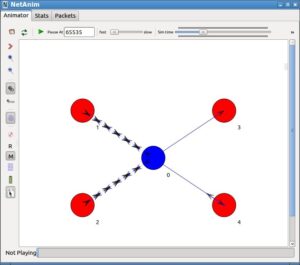
Now we can run NetAnim and open the “paparazzi.xml” to visualize the mobility scenario.
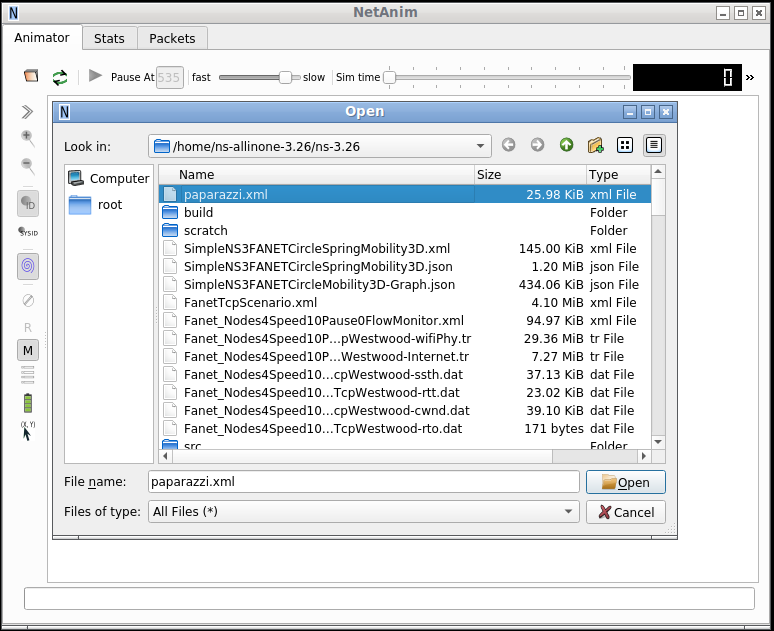
The following is the NetAnim output:
Conclusion
In fact, the implementation of the paparazzi mobility model is incomplete implementation. It provides no options to the user to control and use this model in a FANET/UAV network simulation. It automatically moves the node in some predefined/random fashion – so it will not be suitable for a controlled network simulation. Even thought we see the scanning mobility in the connected research publication, that mobility pattern is completely missing in this implementation. So, this model could not simulate scanning mobility patterns for UAV simulations.
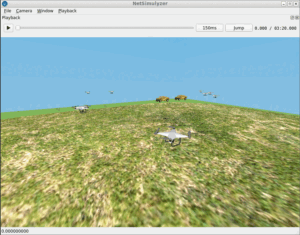
Even though the paparazzi mobility-based FANET simulation is 3D, we can only visualize it in 2D because of the limitation of NetAnim. If we want to visualize it in 3D, then we have to use a 3D visualization tool such as NetSimulyzer. We may see such realistic 3D visualization in another article.
References

 Discuss Through WhatsApp