Paparazzi Mobility Model
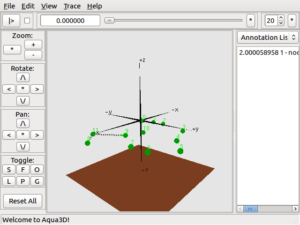
It is a mobility model to simulate the movement of autonomous vehicles, such as drones or UAVs (unmanned aerial vehicles), in a virtual environment. It allows users to test the navigation and control systems of their vehicles in a simulated environment before deploying them in the real world.
The Paparazzi Mobility Model that we used in this demonstration is an open-source ns-3 mobility extension which is available in[1].
In our previous article shown below, we presented the way of incorporating the Paparazzi Mobility Model under ns-3 and visualizing it using NetAnim.
Using The Paparazzi Mobility Model in ns-3 FANET 3D Scenario
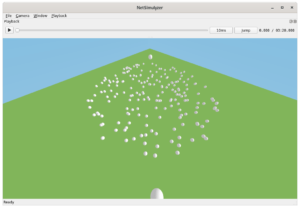
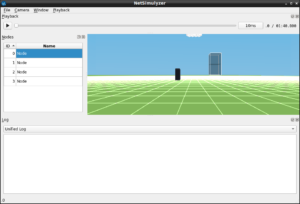
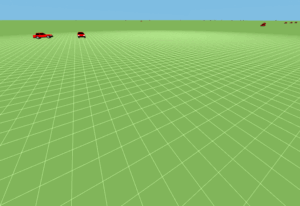
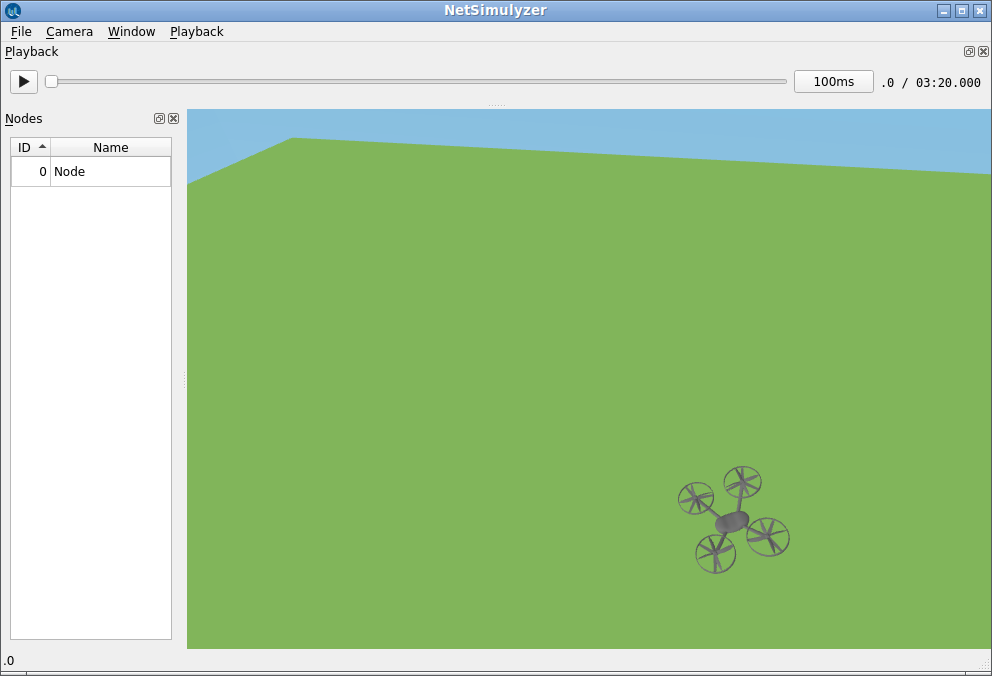
This article just extends it by incorporating the aspects of NetSimulyzer to visualize the Paparazzi Mobility Model in 3D.
Step 1: Install ns-3 and Paparazzi Mobility Model as explained in [3] and test its good working by running the example simulation.
The following is the example code given in [1]
#include “ns3/core-module.h”
#include “ns3/netanim-module.h”
#include “ns3/paparazzi-mobility-model.h”
#include “ns3/stats-module.h”
#include “ns3/mobility-module.h”
#include “ns3/simulator.h”
#include
#include
using namespace ns3;
int main (int argc, char *argv[]) {
CommandLine cmd;
cmd.Parse(argc,argv);
NodeContainer c;
c.Create (1);
MobilityHelper mobility;
mobility.SetPositionAllocator (“ns3::RandomBoxPositionAllocator”,
“X”, StringValue (“ns3::UniformRandomVariable[Min=0|Max=200]”),
“Y”, StringValue (“ns3::UniformRandomVariable[Min=0|Max=200]”),
“Z”, StringValue (“ns3::UniformRandomVariable[Min=0|Max=0]”));
mobility.SetMobilityModel (“ns3::PaparazziMobilityModel”,
“Radius”, StringValue (“10”),
“Bounds”, BoxValue (Box (0, 200, 0, 200, 0, 0)));
mobility.InstallAll ();
AnimationInterface anim (“paparazzi.xml”);
Simulator::Stop (Seconds (60));
Simulator::Run ();
Simulator::Destroy ();
return 0;
}
$ cd /ns-allinone-3.xx/ns-3.xx/
$ ./waf –run paparazzi
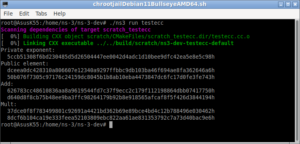
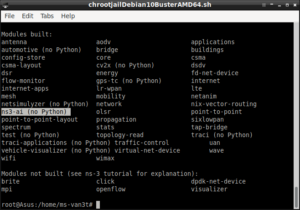
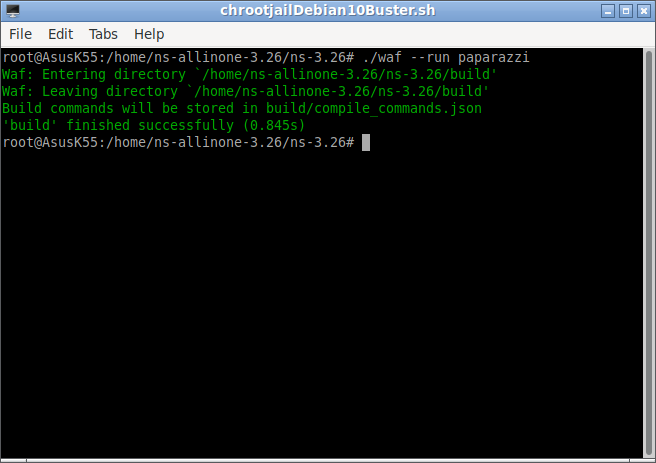
On a successful run, the output of the screed will look like the below one. The NetAnim Output trace file will be saved in the name “paparazzi.xml”
Step 2: Visualizing the mobility of paparazzi-mobility-model with NetAnim
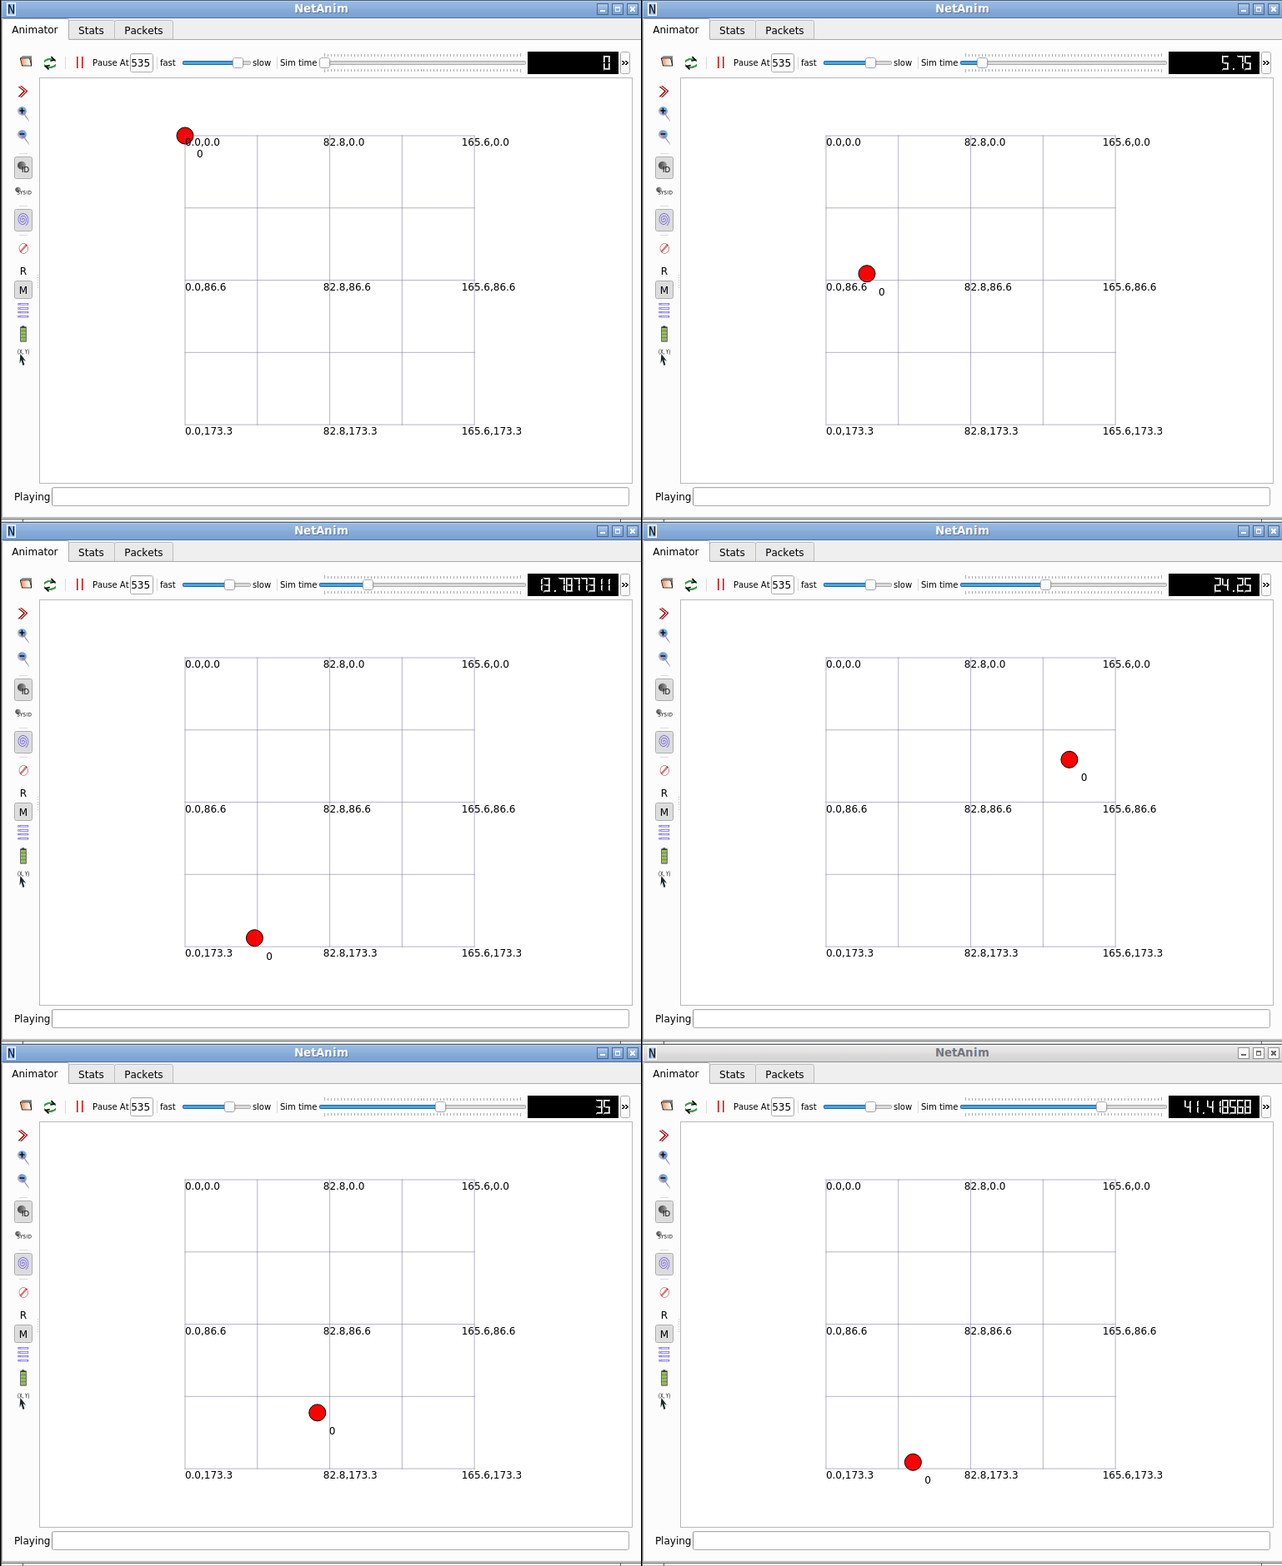
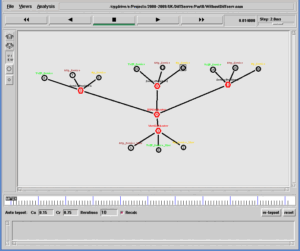
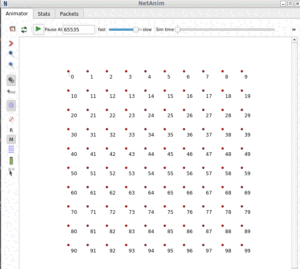
Now we can run NetAnim and open the “paparazzi.xml” to visualize the mobility scenario.
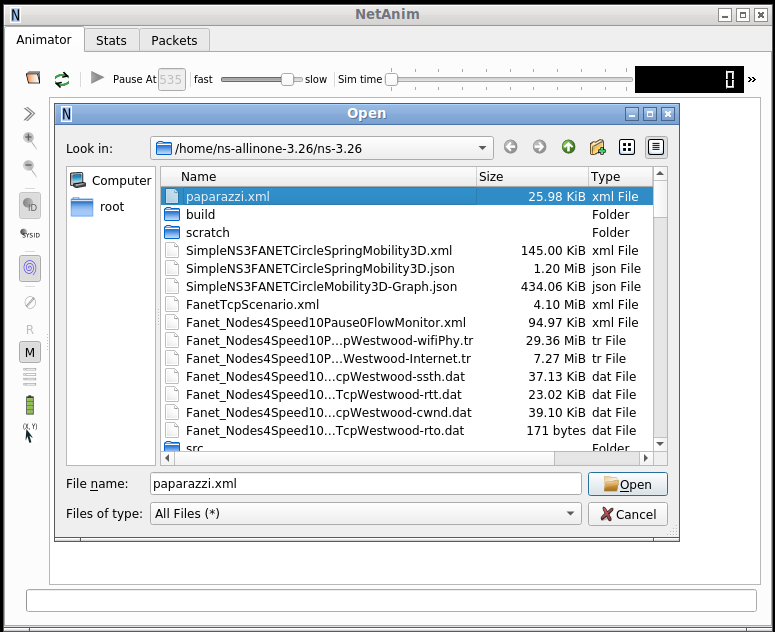
The following is the NetAnim output:
Step 3: Install NetSimulyzer ns-3 Add-on Module
Install NetSimulyzer ns-3 Add-on Module as explained in the following article:
Installing NetSimulyzer 3D Visualization Support Add-on Module in ns-3 under Debian/Ubuntu
Step 3: Install NetSimulyzer 3D Visualization Tool
Install NetSimulyzer ns3D Visualization Tool as explained in the following article:
Installing NetSimulyzer 3D Visualization Tool under Debian/Ubuntu
Step 4: Edit the Example Simulation to add NetSimulyzer-related Features.
Now we have to edit the example code given in [1] to add NetSimulyzer-related features in it so that it will create a ‘.json’ file that will log the 3D mobility information needed for NetSimulyzer 3D visualization tool. Now save the file with a different name (‘paparazzi-3d.cc’)
$ cd /ns-allinone-3.xx/ns-3.xx/
$ ./waf –run paparazzi-3d
On a successful run, the output of the screed will look like the below one. The NetAnim Output trace file will be saved in the name “paparazzi.xml” and the information needed to visualize the scenario will be saved in a file called“paparazzi-3d.json”
References
- https://github.com/sbindel/PPRZM-ns3
- https://www.projectguideline.com/installing-ns-3-dev-under-chroot-jail-and-compile-with-cmake/
- https://www.projectguideline.com/using-the-paparazzi-mobility-model-in-ns-3-fanet-3d-scenario/
- https://www.projectguideline.com/installing-netsimulyzer-3d-visualization-support-module-in-ns-3-under-debian-ubuntu/
- https://www.projectguideline.com/installing-netsimulyzer-3d-visualization-tool-under-debian-ubuntu/

 Discuss Through WhatsApp